Hardware, Laravel, and unnecessary scale
I Built a Comically Large Laravel Button
· Chase Miller
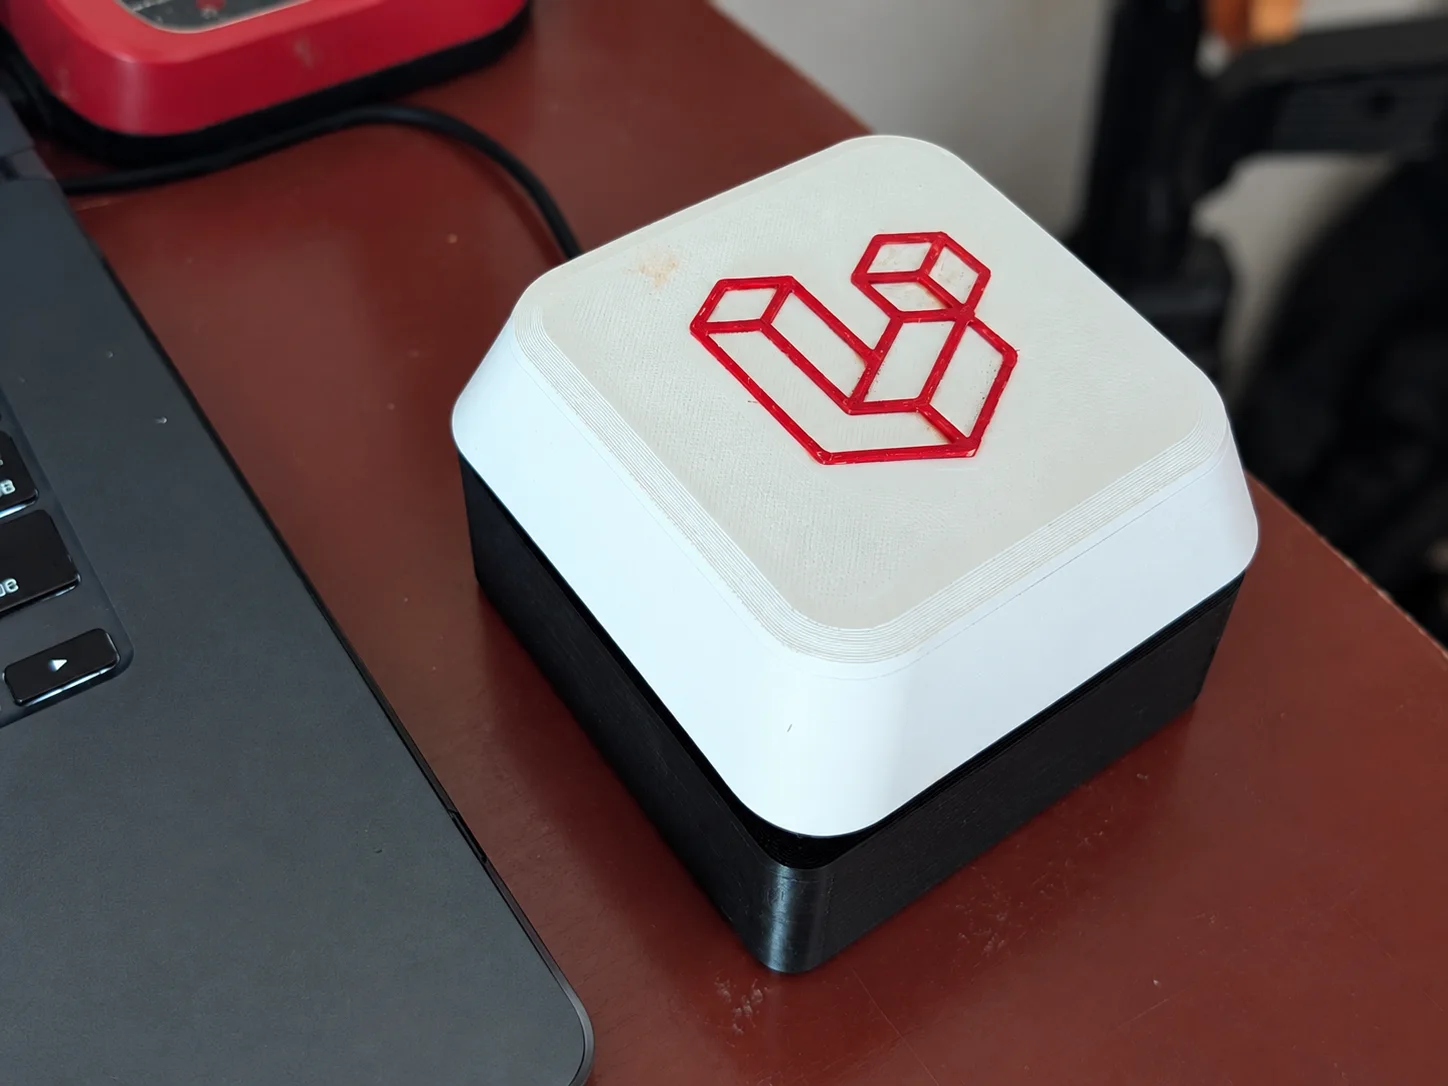
There are definitely faster ways to spin up a Laravel app.
I chose to build a giant keyboard button, slap a Laravel logo on it, add RGB lighting, and make the whole thing work like a giant mechanical keyboard key.
Hit it and it types laravel new. Or whatever else I program it to do. It can run commands, control IoT devices, change the lights, or trigger just about any digital action.
The important part is that useful automation should remove repetitive work without taking away the moment when a person should still be in control.
The joke is that it’s a giant Laravel key. The actually useful part is having one big, obvious, programmable button that can do nearly anything.
The Four-Second Version
The video is the whole interaction: press the large key, watch the terminal receive the command, then continue typing the project name normally. There is no custom desktop application sitting between the button and the terminal. To the computer, it is simply a keyboard.
A Keyboard Key, Not an Arcade Button
The first decision was about feel. I did not want a normal arcade button hidden inside a large enclosure. I wanted the object to read and move like a key from a keyboard, only absurdly larger.
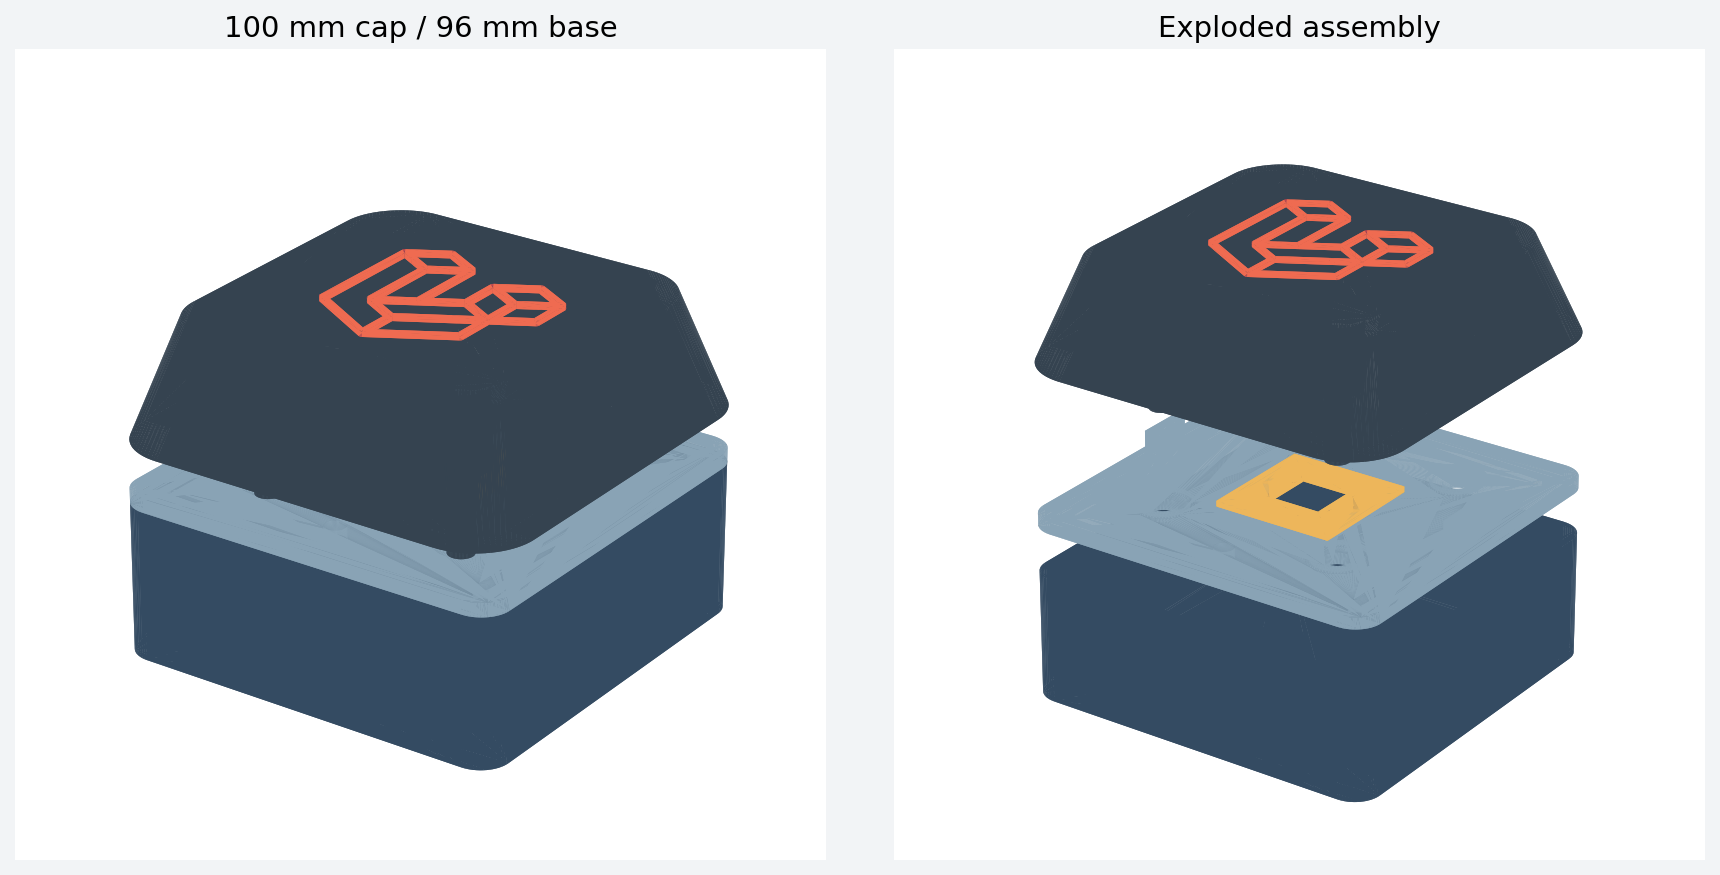
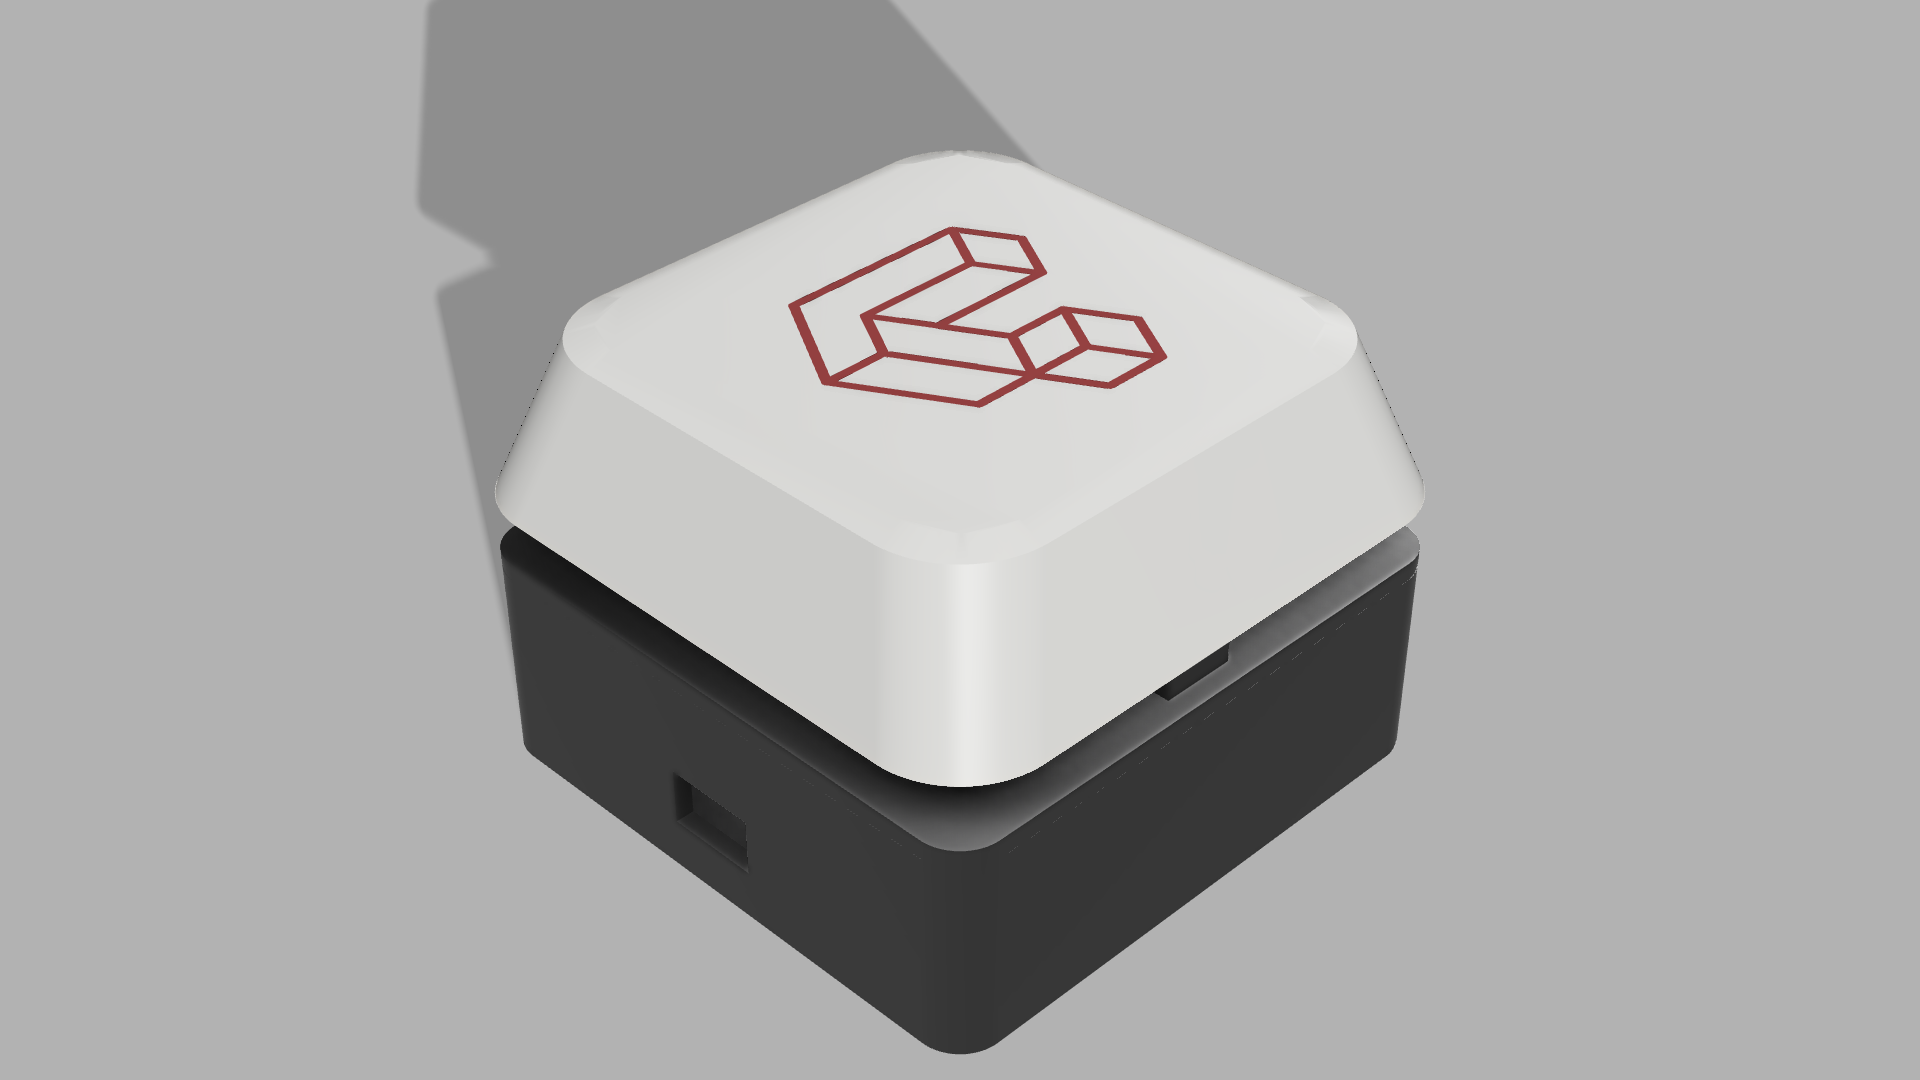
The moving cap is 100 × 100mm and overhangs a 96 × 96mm base by about 2mm on each side. The assembled button is approximately 71mm tall. At the center is one conventional full-height MX-style switch, mounted in a replaceable tile so I can change the switch fit without reprinting the entire lid.
A single switch can register the press, but it cannot keep a 100mm cap level when somebody hits a corner. Four guide rods and four compression springs handle that job. Printed stops limit travel to 3.2mm so the switch is an input device, not the structural bottom-out stop.
The Part That Looked Clever Broke
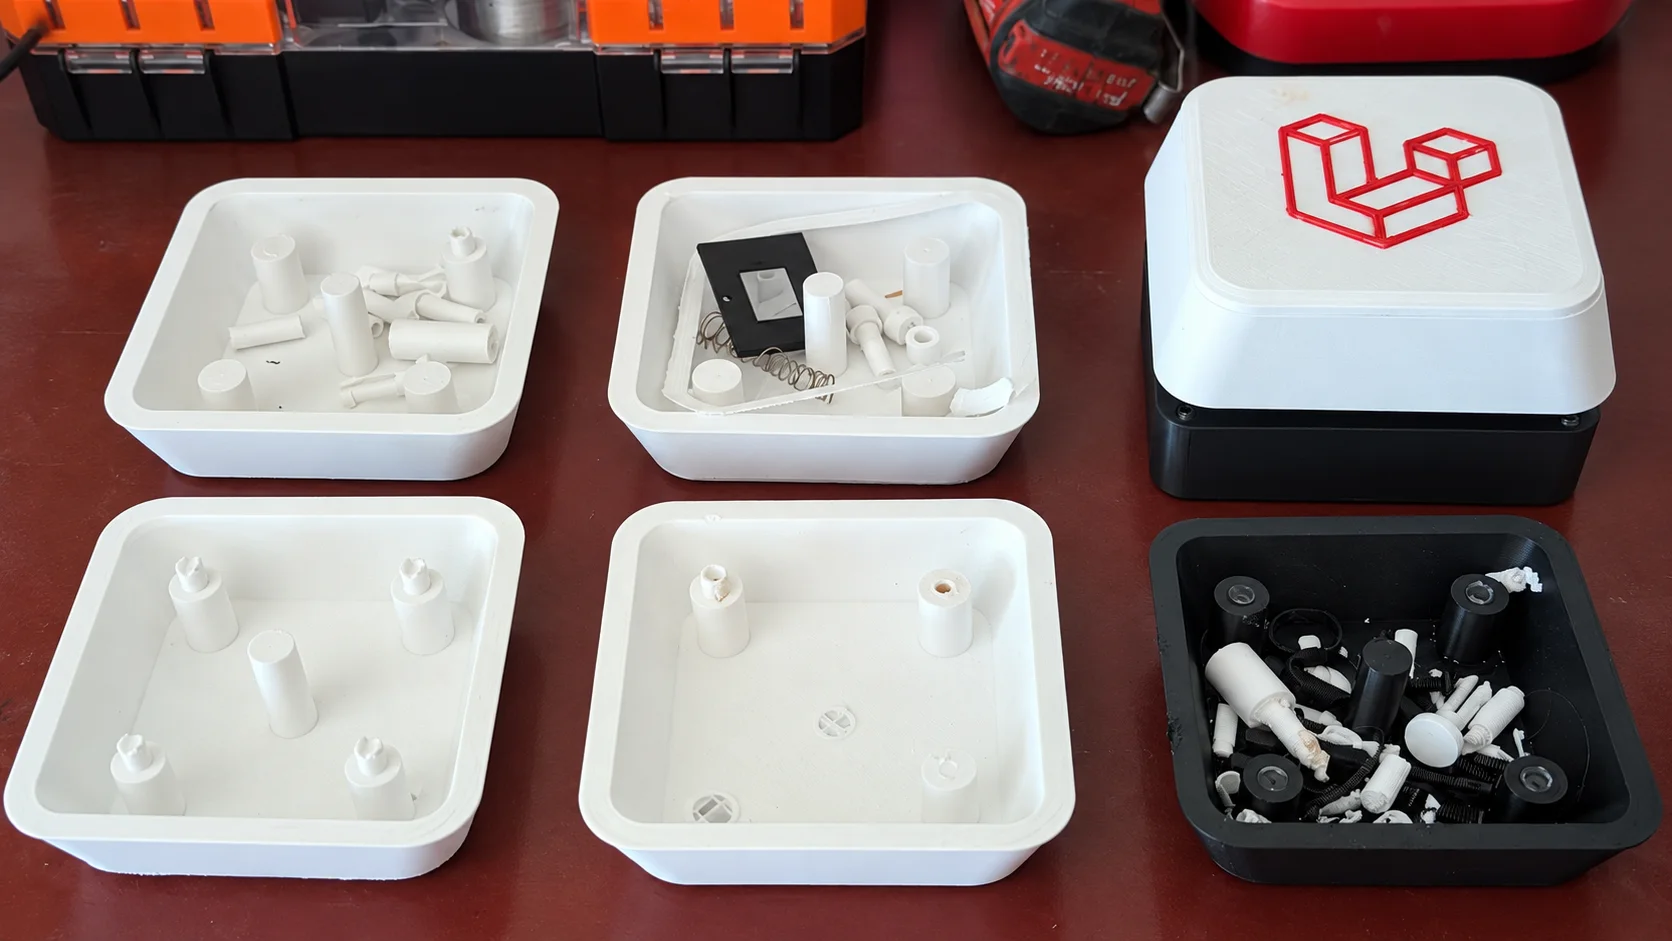
The early guide rods ended in flexible split clips. In the model, the clips were tidy: push each one through the lid and let the barbs retain the cap from below. In the physical assembly, the clip roots fractured.
That failure led to 5 more revisions of the cap. The current cap uses solid 6mm pins with narrower 4mm spigots at the ends. Separate collars slide onto those spigots after the rods and springs pass through the lid, then glue in place. It adds four tiny parts and an assembly step, but removes the thin flexing roots that were carrying lateral load in the printed orientation.
I also added a true 0.6 mm-radius fillet around the entire joint where each guide rod meets its shoulder. That is a small change in Fusion 360 and a meaningful one in plastic: the rounded transition removes the sharp stress concentration where the earlier rods wanted to snap if I really hammered on it.
Testing the model in CAD might show some real friction, but sometimes the only way to iterate an improvement is to use it past the point of failure.
Designing the Enclosure Backward
The cap hides almost the entire top of the lid. That makes top-installed enclosure screws easy to draw and annoying to service: once the button is assembled, the cap blocks access to them.
The revised enclosure fastens entirely from the bottom. Four M4 machine screws sit in recessed pockets under the base, pass through shortened posts, and thread into heat-set inserts installed upward into reinforced bosses on the lid. The screw heads stay above the desk surface, and the lid can be removed without dismantling the moving cap.
M4 was not an arbitrary hardware choice. M5 inserts would leave too little plastic around the existing corner geometry. The design includes a small insert test coupon with 5.6, 5.8, and 6.0mm entry diameters because the correct heat-set fit depends on the insert, filament, printer, temperature, and shrinkage. Printing the coupon first is cheaper than discovering the wrong fit in a long enclosure print.
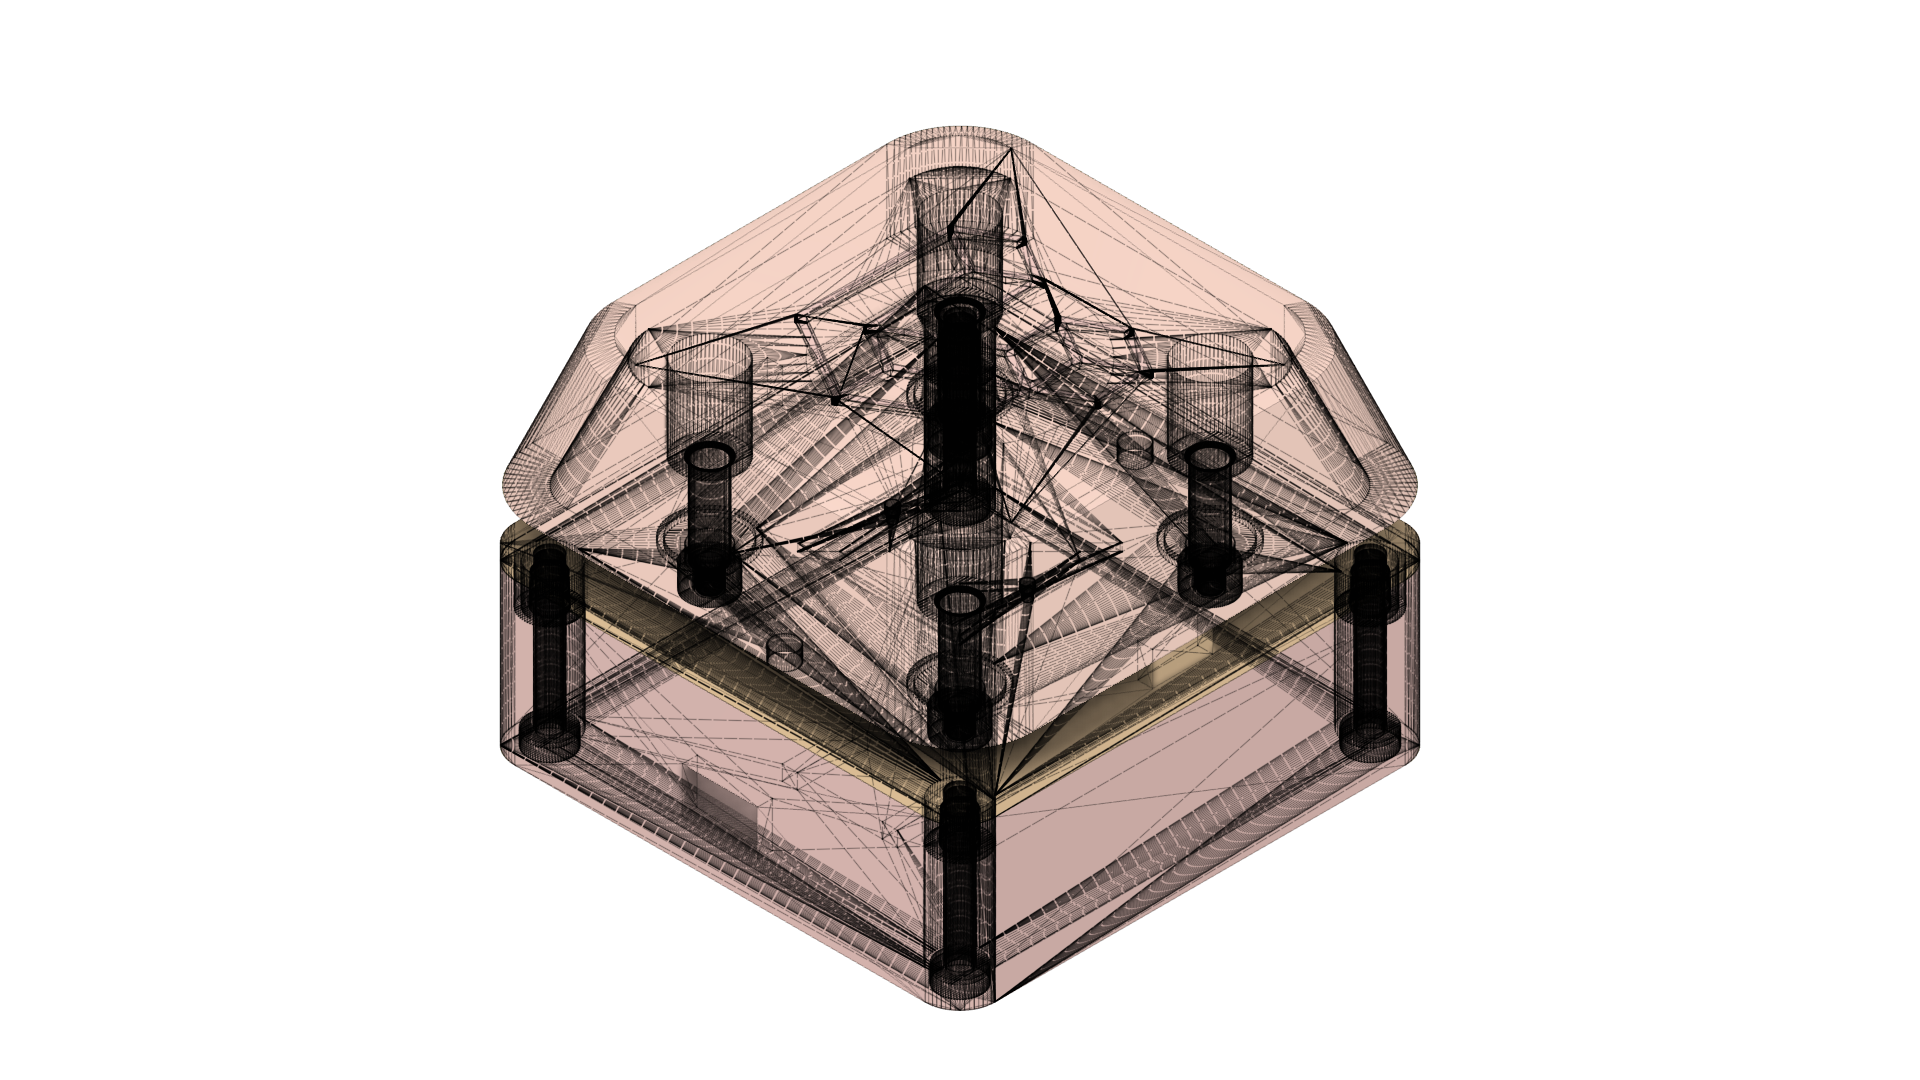
Source model
Open the Current Assembly in Fusion 360
The downloadable Fusion archive contains the current working assembly shown above. It is prototype geometry, not a production-ready print package: verify switch fit, insert diameter, spring compression, guide clearance, and screw depth against your own hardware before printing it at full size.
The Electronics Are Intentionally General
For the prototype, I used a Waveshare ESP32-S3-Zero. It is small enough to disappear inside the enclosure, and its native USB connection lets it behave like a keyboard without a separate USB interface. Wi-Fi and Bluetooth Low Energy are already on the board for whatever the button becomes next.
Input and controller
- Controller: Waveshare ESP32-S3-Zero with native USB-C, Wi-Fi, and Bluetooth Low Energy. There are lots of other options. I mostly went with this because I had an extra one and the bluetooth setting, although I ended up not using it.
- Switch: one conventional full-height MX-style mechanical keyboard switch. I used the cheapest one I could find on Amazon.
- Connection: a USB-C data cable for power, programming, and USB keyboard output. If you use the Waveshare and add a battery, you can get rid of the cable in exchange for Bluetooth.
Lighting and motion
- Lighting: a short 5 V WS2812B addressable RGB strip, controlled from a single data pin. There are lots of RGB strip options, or you can use nothing at all.
- Stabilizers: four light compression springs around the 6mm printed guide rods. I used the only 4 matching springs I had that had a proper inner diameter. I'd probably trim them.
- Enclosure hardware: four M4 × 30mm machine screws and four M4 heat-set inserts. I used M4 because I have some shorter throw ones and didn't want to eat up too much space.
The RGB run is deliberately short so the button can stay within a sensible USB power budget. The pixels share ground with the controller, and a small series resistor on the data line is cheap protection for the first pixel. If the lighting grows beyond a handful of pixels, it deserves its own power calculation instead of assuming the USB port will carry it. In all transparency, I was not running RGB until the last iteration. I'm not a huge RGB guy, but it had a small strip, so I went with it.
One press can play a light animation and type a key sequence. It could also call an HTTP webhook, publish an MQTT event, trigger a Home Assistant scene, or use short, double, and long presses for separate actions. Change the logo insert and firmware, and the same enclosure can become a build button, push-to-talk control, recording marker, accessibility switch, help-desk alert, or a branded interactive display.
That is the part I like most. Software normally hides behind a screen full of equally weighted controls. A physical button does the opposite. It declares that one action matters enough to have a place on the desk.
But what was the point?
Nobody needs a 100mm button to create a Laravel project. That is why it is fun. But novelty does not excuse a mechanism that binds, a switch that takes structural abuse, or an enclosure that cannot be serviced after assembly.
The project ended up following the same pattern as good software work: make the boundary clear, keep the irreversible action under human control, test the smallest risky assumption first, and let failures change the design instead of explaining them away.
What Still Needs Testing
The cap is still a prototype. FDM parts are anisotropic, and durability depends on layer direction, material, temperature, wall count, spring force, and how often someone decides a large button should be hit as hard as possible. The next useful work is physical cycle testing, off-center impact testing, and confirming the final spring rate with the complete cap mass.
If the rod roots still fail, the honest next step is not another decorative fillet. It is a more fundamental change: larger rods and springs, separately printed rods oriented for strength, or metal dowels through the printed bosses.
The software is bland. The esp32 can run C, C++, or Python. I am running python because I have been out of the C++ world for over a decade. If I wanted more out of it, I'd have to make some tweaks. I'd probably add a short and long push to make a single throw button be able to do two separate things.
If you build it and have any issues, or want to share it ( I would love to share it online ) please let me know or tag me on X @chasecmiller.